Prerequisites:
Valid Email Address: This email address will be associated with your AWS account and used for communication purposes.
Valid credit or debit card: For identity verification and to charge you for any services you may use beyond the free tier limits.
Valid phone number: can receive calls and texts is also required.
Step 1: Visit the AWS Website Open your web browser and navigate to the official AWS website at Free Cloud Computing Services - AWS Free Tier (amazon.com).

Step 2: On the AWS homepage, locate the “Create an AWS Account” button, and click on it. This will redirect you to the account creation page.
Step 3: Provide your email address in the root user email address designated field. Choose an account name this name can be changed anytime, in your account settings once your account creation has been completed.
click on verify email address and a 6-digit code will be sent to the email address you have provided.

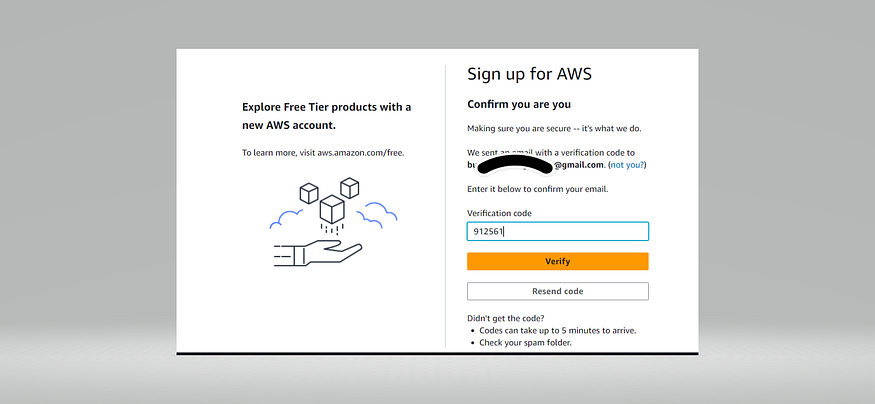
Step 4: Input the code that was sent to your email box into the designated field provided and click on verify.
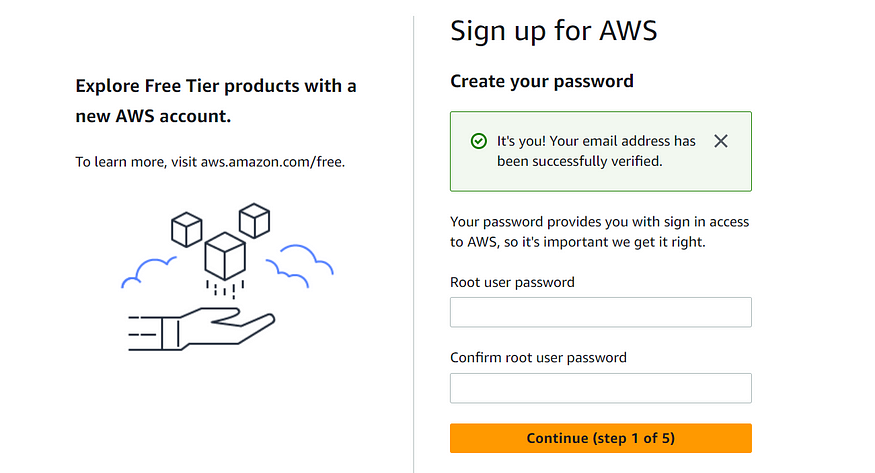
Step 5: Enter your desired password into the designated field confirm the password and click on continue.
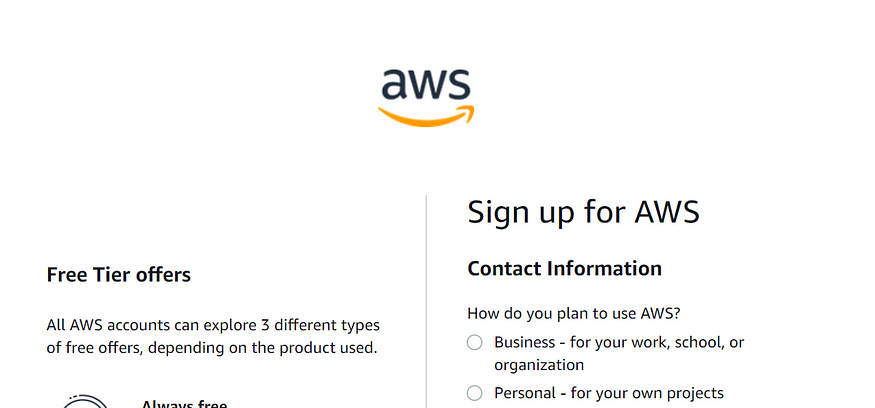
Step 6: Choose an Account Type Select the account type that best suits your needs. AWS offers options for both personal and business accounts. Choose the appropriate account type and proceed to the next step.
Step 7: Fill in Your Personal Information, including your full name, address, and phone number. AWS requires this information for verification and communication purposes. Check the box to accept the agreement and proceed.
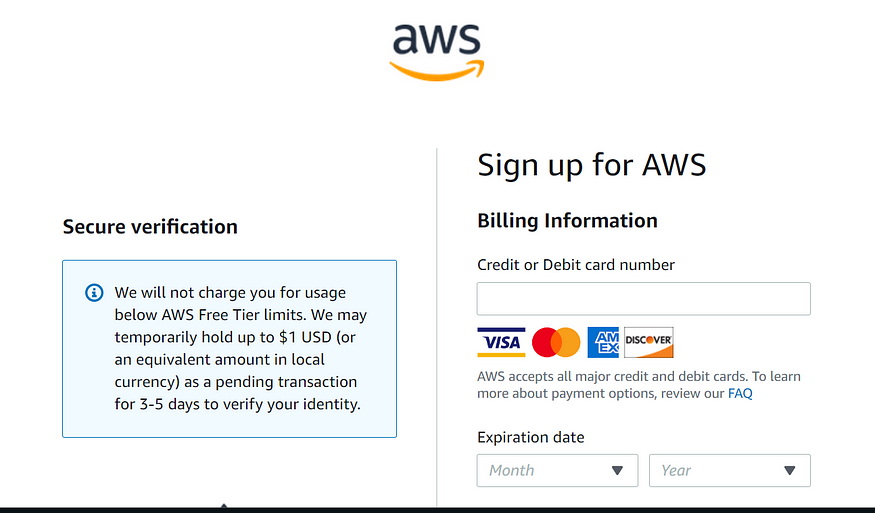
Step 8: Payment Information To complete the account setup process, you will need to provide valid payment information. AWS requires a valid credit card to verify your identity.
Note that you will be charged $1 this is to allow AWS to ensure that the card details provided are valid so you would likely see a charge in your bank account or your card for a few days then it will be reversed.
Step 9: Identity Verification AWS may require additional identity verification steps to ensure the security of your account. This can involve entering a verification code sent to your phone number or uploading a scan of your identification document. Follow the instructions provided to complete the verification process.
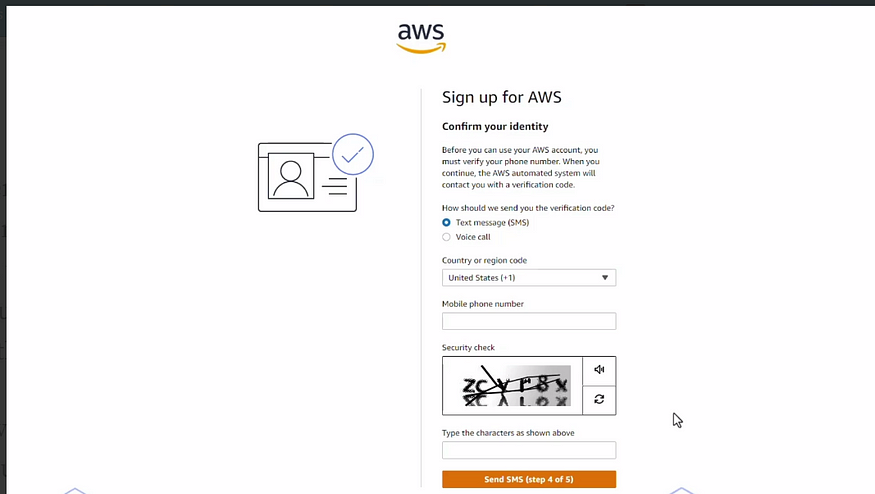
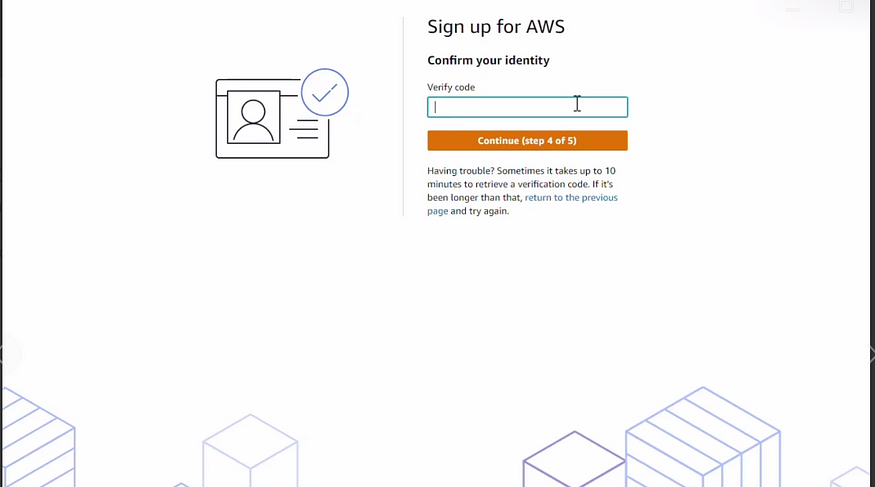
If you choose the text and included your phone number a code will be sent to that mobile number to confirm your phone number, input the code sent to your phone number in the designated field and click on continue
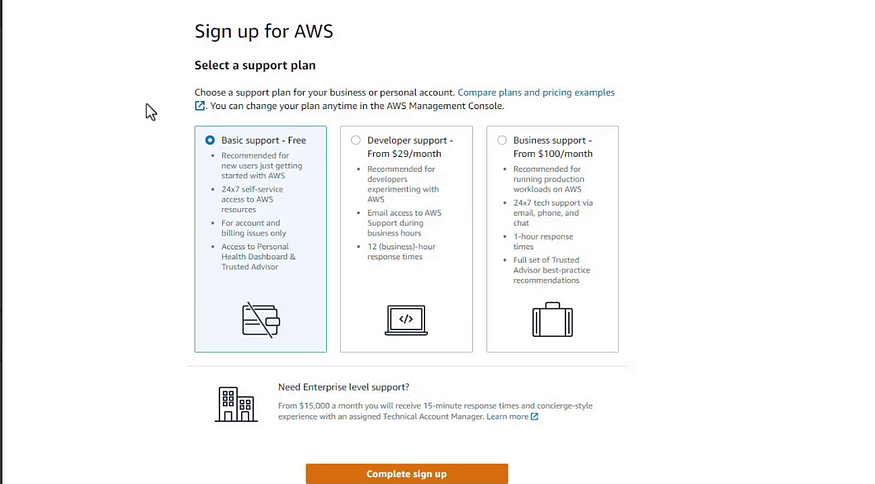
Step 10: Select a support plan, there are three major types of support plans. Go for basic support- Free plan.
Step 11: Complete the process by clicking on the “Complete sign up” button to finalize the registration process.
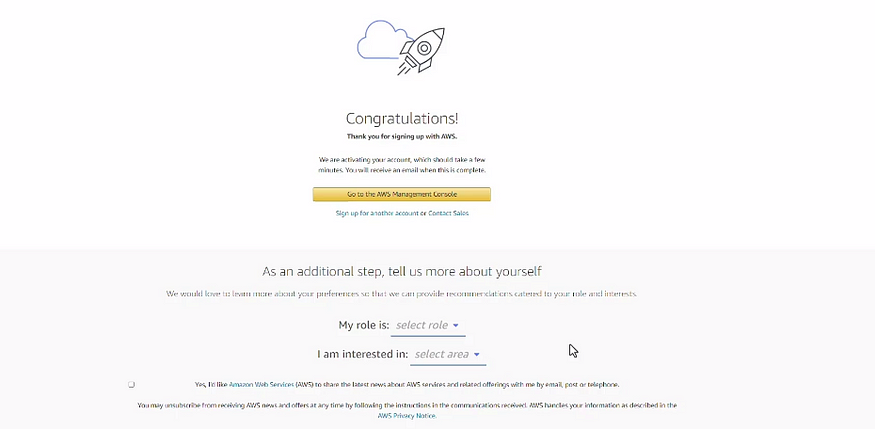
Note: Accounts are usually activated within a few minutes, but the process might take up to 24 hours.
Once activated
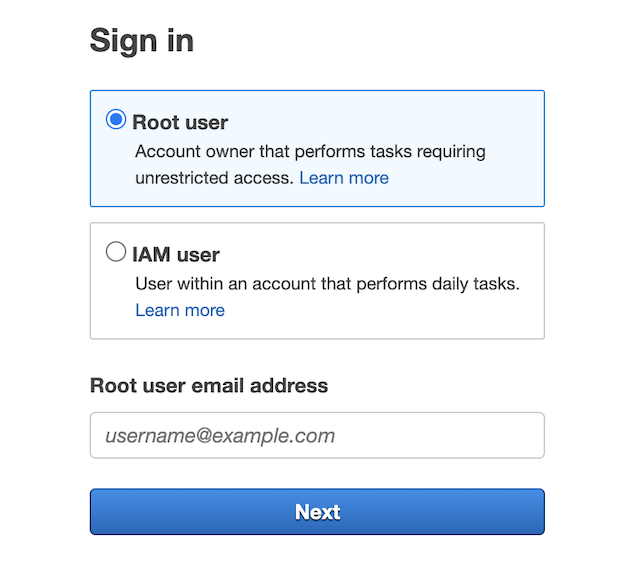
Login as root user
Open the Amazon Web Services home page again and choose Sign in to the Console.
Choose ⦿ Root User and login to account using your email address and password.
Congratulations!!! You have successfully created your AWS account.
Happy cloud computing!
